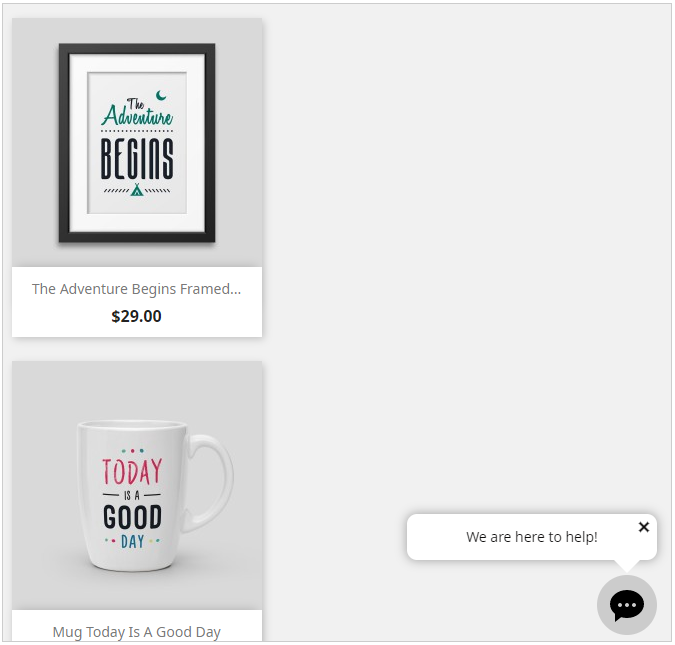
Live Chat for PrestaShop websites
Adding live chat to PrestaShop website will require installing special HTML module or editing theme source files. Below we provided instructions for both variants.
Live Chat integration with help of HTML / JavaScript module
- Download contentBox module from http://contentbox.org/ website.
- Log into your PrestaShop admin panel.
- In the top menu open Modules / Modules and click 'Add new module' button.
- Browse for contentBox module file you have downloaded and click 'Upload this module' button.
- In the list of modules find contentBox module and press 'Install' button for it to proceed with module installation.
- Now get the code for your live chat button. For this purpose log into your Provide Support account Control Panel, follow there My Account / Chat Button Codes page and choose 'Fully Featured Chat Button Code with Uploadable Online / Offline Images' then check 'Generate a floating chat button code'. To position the chat button on your website, specify vertical and horizontal values for it.
- Copy the generated code.
- Get back to your PrestaShop admin and click 'Configure' for your contentBox module.
- In the appeared editor click 'Edit HTML source' button and paste the previously copied code there.
- To save your updates click 'Update' button in the editor window and then 'Update (Save)' button in the module configuration.
Direct Live Chat integration with PrestaShop theme
For integrating live chat button with your PrestaShop theme directly you need to have access to your PrestaShop files via standard FTP client or the CPanel File manager.
Please use the following guide to add the chat button to your website theme.
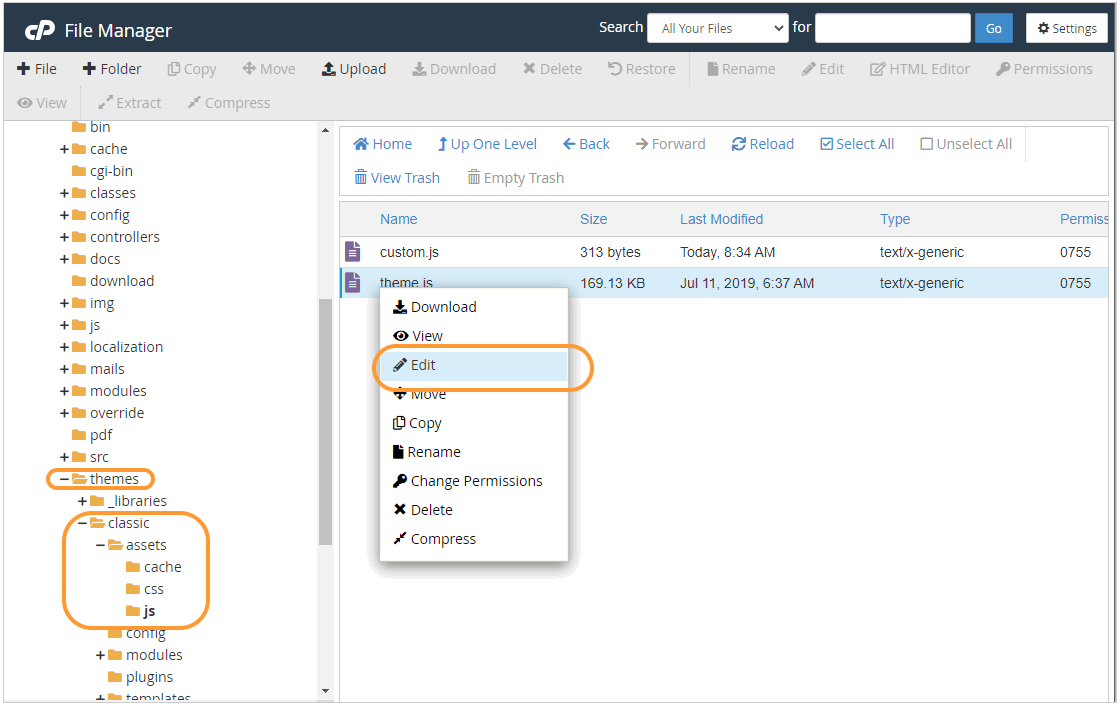
- Open your PrestaShop files.
- Now open PrestaShop / Themes / Your theme name folder. Your theme name can be checked in PrestaShop admin panel in Preferences / Theme.
- Find footer.tpl file and open it with Notepad.
- Grab the code for your chat button. For getting the code follow suggestions in Step 6 of 'Live Chat Integration with help of HTML / Javascript module' instruction.
- Insert your chat button code to the footer.tpl before closing
</body>
tag. - Before
<script type="text/javascript">
part of your chat button code insert{literal}
, then add{/literal}
after closing</script>
tag. This will prevent PrestaShop template engine from evaluating the code. - Save changes in your footer.tpl file and upload it to your FTP or Cpanel
Tips and tricks for customizing your live chat:
- In this piece of the chat button code you can change the position of your chat button manually:
<div id="scXXXX" style="display:inline;position:fixed;z-index:9999;top:40%;left:0%;"></div>
- You can upload your own images for the chat button or choose any from our chat icon gallery on the Account Settings / Images page in your account Control Panel
- By uploading your operator picture and greeting message you will add some human touch to your live chat conversations. You can do this on the My Account / Operators and Departments page in your account Control Panel