|
<< Click to Display Table of Contents >> Integrations > Shopping Cart Integrations > Shopify > Shopify plugin |
General
Provide Support Live Chat can be directly integrated with Shopify as it is available in Shopify Apps store.
To add Provide Support Live Chat to your website, follow the instruction below:
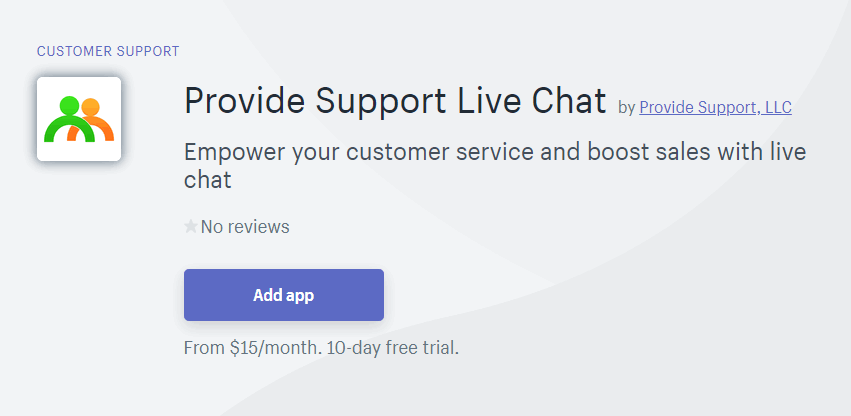
1.Click "Add app" button on the Apps store page

How to add Shopify plugin
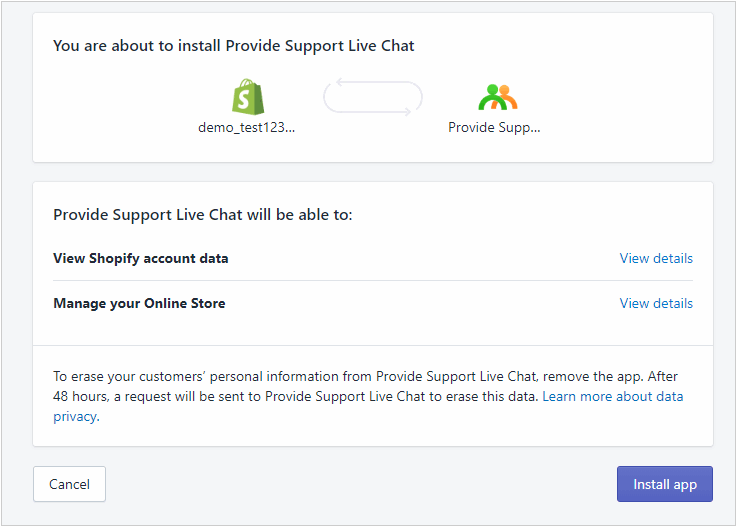
2.Click "Install app" button

Installing Shopify live chat plugin
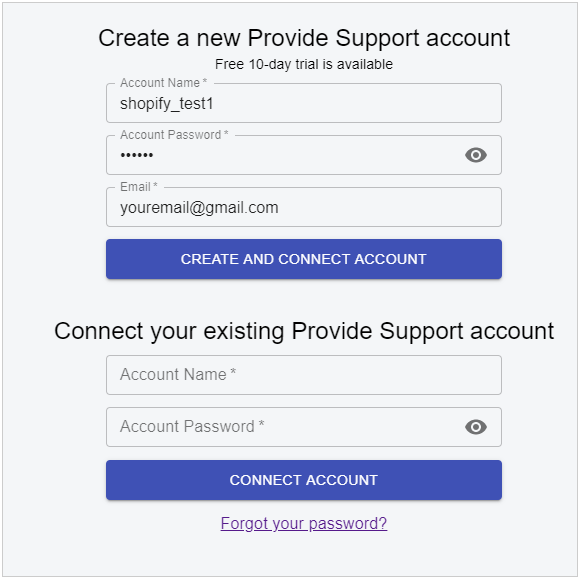
3.Now you can create a new Provide Support account or connect to your existing one. An email address for registering an account will be taken from your Shopify account settings. However, you can change it if necessary. In case you already have an account with Provide Support, you can connect to it via widget settings

Connecting to live chat account
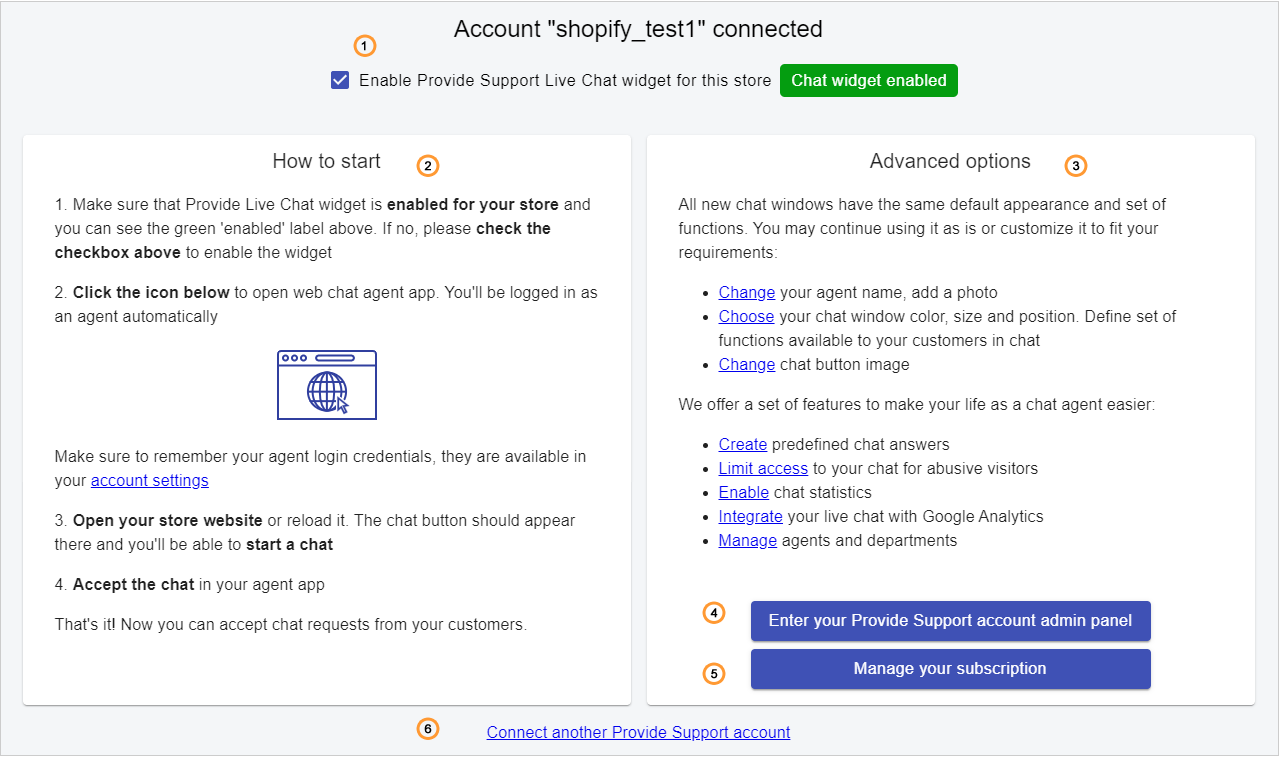
4.By default the live chat plugin is enabled and the chat button appears on your website

Provide Support live chat plugin settings
1.You can enable or disable live chat widget by checking "Enable live chat widget for this store" box. After enabling the live chat widget a chat button will appear in the bottom right corner.
2.Follow quick start guide steps. Additionally, you can download and install the operator console app for Windows, macOS, Linux, iPhone and Android.
3.You can follow links provided in this section to change your chat button position, customize chat window look and feel and update your live chat agent's profile.
4.You can enter Provide Support Control Panel here to customize your live chat account and get more information about available features.
5.By following this link you will get information about your live chat subscription and if you are on a free trial you can purchase your live chat plan there.